参考资料:install qq/tim on linux with wine
This tutorial introduces how to install QQ/TIM in Linux with Wine, which had been tested on ArchLinux with Wine 2.4.
Prerequisites#
Before start, you need to get the latest Wine. I’m not sure whether QQ/TIM can run on lower version of Wine. In ArchLinux, you can easily get the latest Wine using following command:
1pacman -S wineHowever, in Debian, you need to install Wine with some more steps. You can see this tutorial.
Then, you need to install a helper of Wine, Winetricks. Winetricks is a script to download and install various redistributable runtime libraries needed to run some programs in Wine. To install Winetricks, you can use following command:
1sudo wget https://raw.githubusercontent.com/Winetricks/winetricks/master/src/winetricks -O /usr/local/bin/winetricks
2sudo chmod a+x /usr/local/bin/winetricks
After that, we need to fix some problems manually caused by Winetricks. According to this Bug Report, we need to download W2KSP4_EN.EXE from other mirror sites:
Similarly, we need to download InstMsiW.exe manually:
1mkdir -p $HOME/.cache/winetricks/msls31
2wget ftp://ftp.iop.org/pub/ESXP6/instmsiw.exe -O $HOME/.cache/winetricks/msls31/InstMsiW.exe
Initialize Wine Environment#
To create a 32-bit WINE system, you need to open a terminal and run the following command:
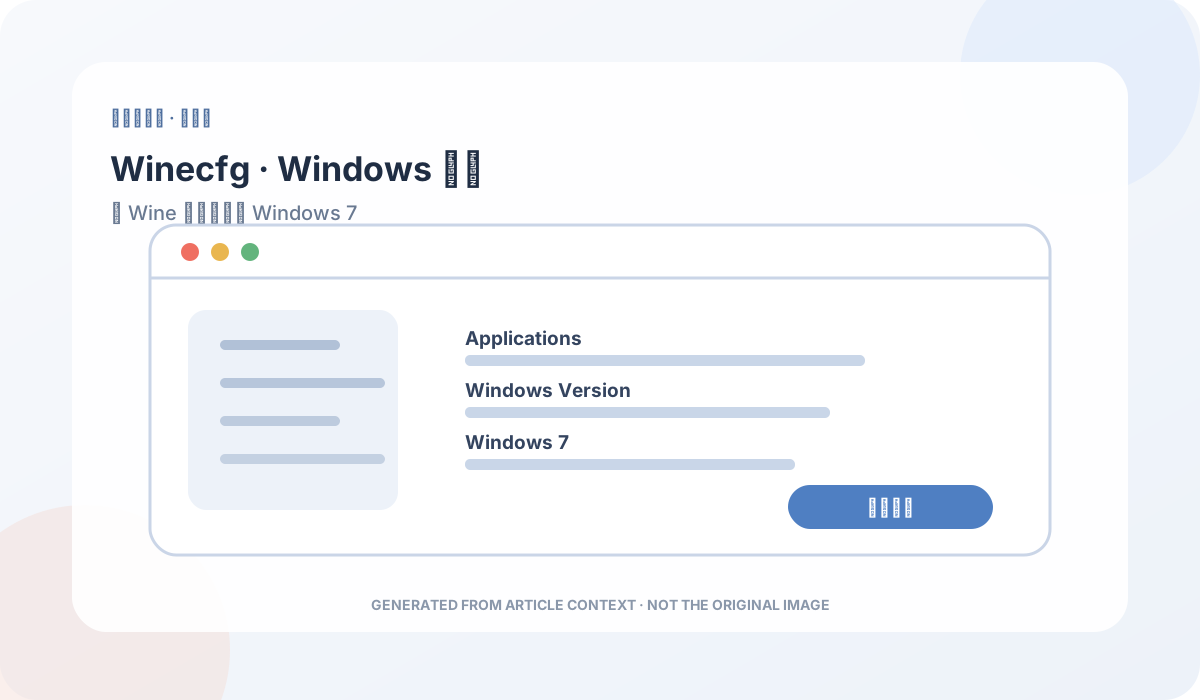
1WINEARCH=win32 wine winebootThen you need to run winecfg in terminal and change Windows version to Windows 7.
Install Core Fonts#
Next, we are going to install essential fonts for Wine.
1winetricks corefonts cjkfontswhere corefonts stands for MS Arial, Courier, Times fonts, and cjkfonts denotes all Chinese, Japanese and Korean fonts and alias.
Install Windows Components#
Then, we need to install components which are needed by QQ / TIM.
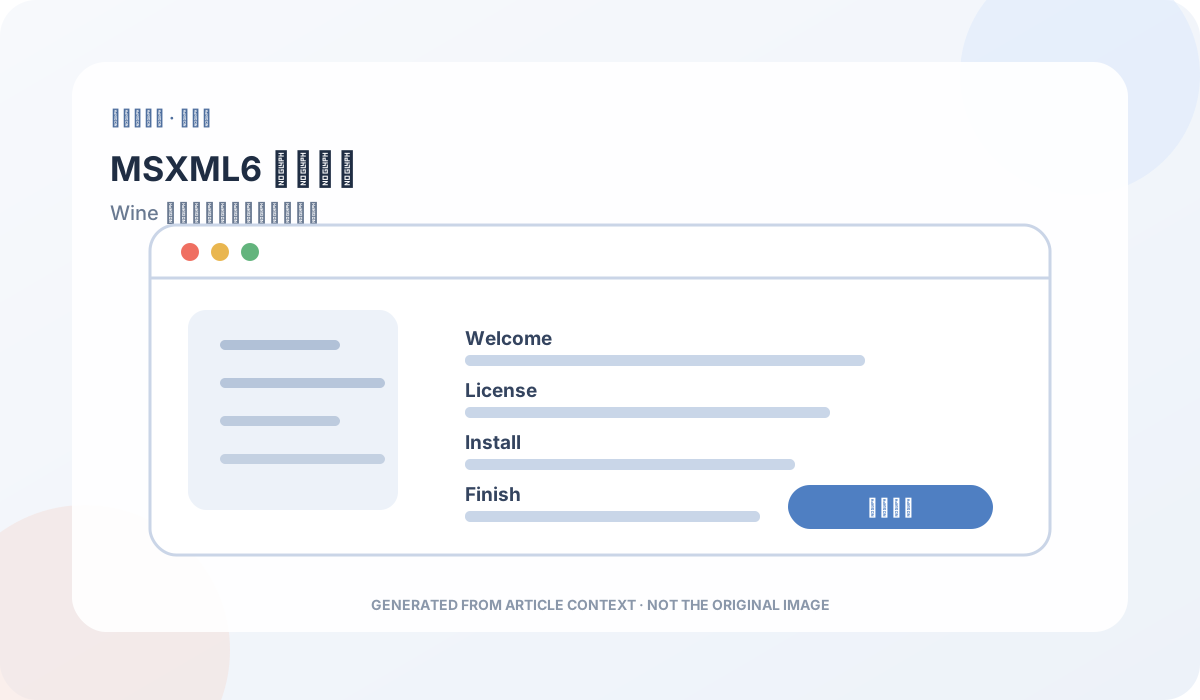
1winetricks msxml6 riched20 riched30 vcrun6where msxml6 represents MS XML Core Services 6.0 SP1, riched20 and riched30 mean MS RichEdit Control 2.0 and MS RichEdit Control 3.0 respectively, and vcrun6 is Visual C++ 6 SP4 libraries.
You are supposed to be asked to fill in information during the MSXML6 installation.
Install QQ / TIM#
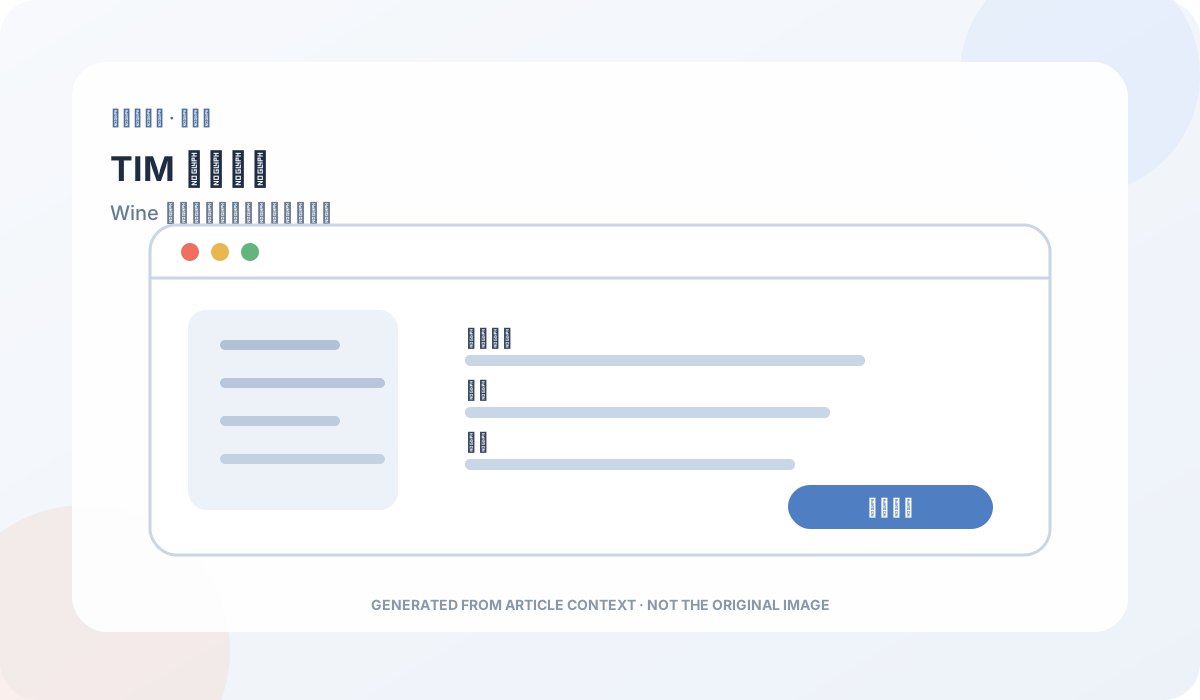
In this section, we are about to install QQ / TIM. We assume that you have already got installers from official website. Run your installer with following command:
1LC_ALL=zh_CN.utf8 wine /path/to/installer.exeIn this tutorial, we use TIM installer as an example:
Please be patient and ignore following error message in terminal:
1 |
|
An instance of QQ / TIM will automatically start after installation finishes.
Due to security check of QQ / TIM, QQ cannot start normally when you restart your PC. We need to apply a patch to remove security check components. You can download this patch from this link or search “QQ安全校验补丁” from the Internet.
After unzipping this patch, use following commands to apply this patch:
1mv QQ-Security-Check-10.0.exe ~/.wine/drive_c/Program\ Files/Tencent/QQ/Bin
2LC_ALL=zh_CN.utf8 wine ~/.wine/drive_c/Program\ Files/Tencent/QQ/Bin/QQ-Security-Check-10.0.exe
Create Shortcut#
Now you can start QQ using following commands:
1# Start QQ
2LC_ALL=zh_CN.utf8 wine ~/.wine/drive_c/Program\ Files/Tencent/QQ/Bin/QQ.exe
3
4# Or start TIM
5LC_ALL=zh_CN.utf8 wine ~/.wine/drive_c/Program\ Files/Tencent/TIM/Bin/TIM.exe
In order to start up QQ / TIM, you can create a desktop entry in /usr/share/applications/TIM.desktop as follows:
 1[Desktop Entry]
 2Categories=Network;InstantMessaging;
 3Exec=env LC_ALL=zh_CN.utf8 wine $HOME/.wine/drive_c/Program\ Files/Tencent/TIM/Bin/TIM.exe
 4Icon=/path/to/logo.png
 5NoDisplay=false
 6StartupNotify=true
 7Terminal=false
 8Type=Application
 9Name[en_US]=TIM
10Name[zh_CN]=TIM
Enjoy!
遇到了无法输入账号的 bug(但是可以输入密码)
解决办法是: